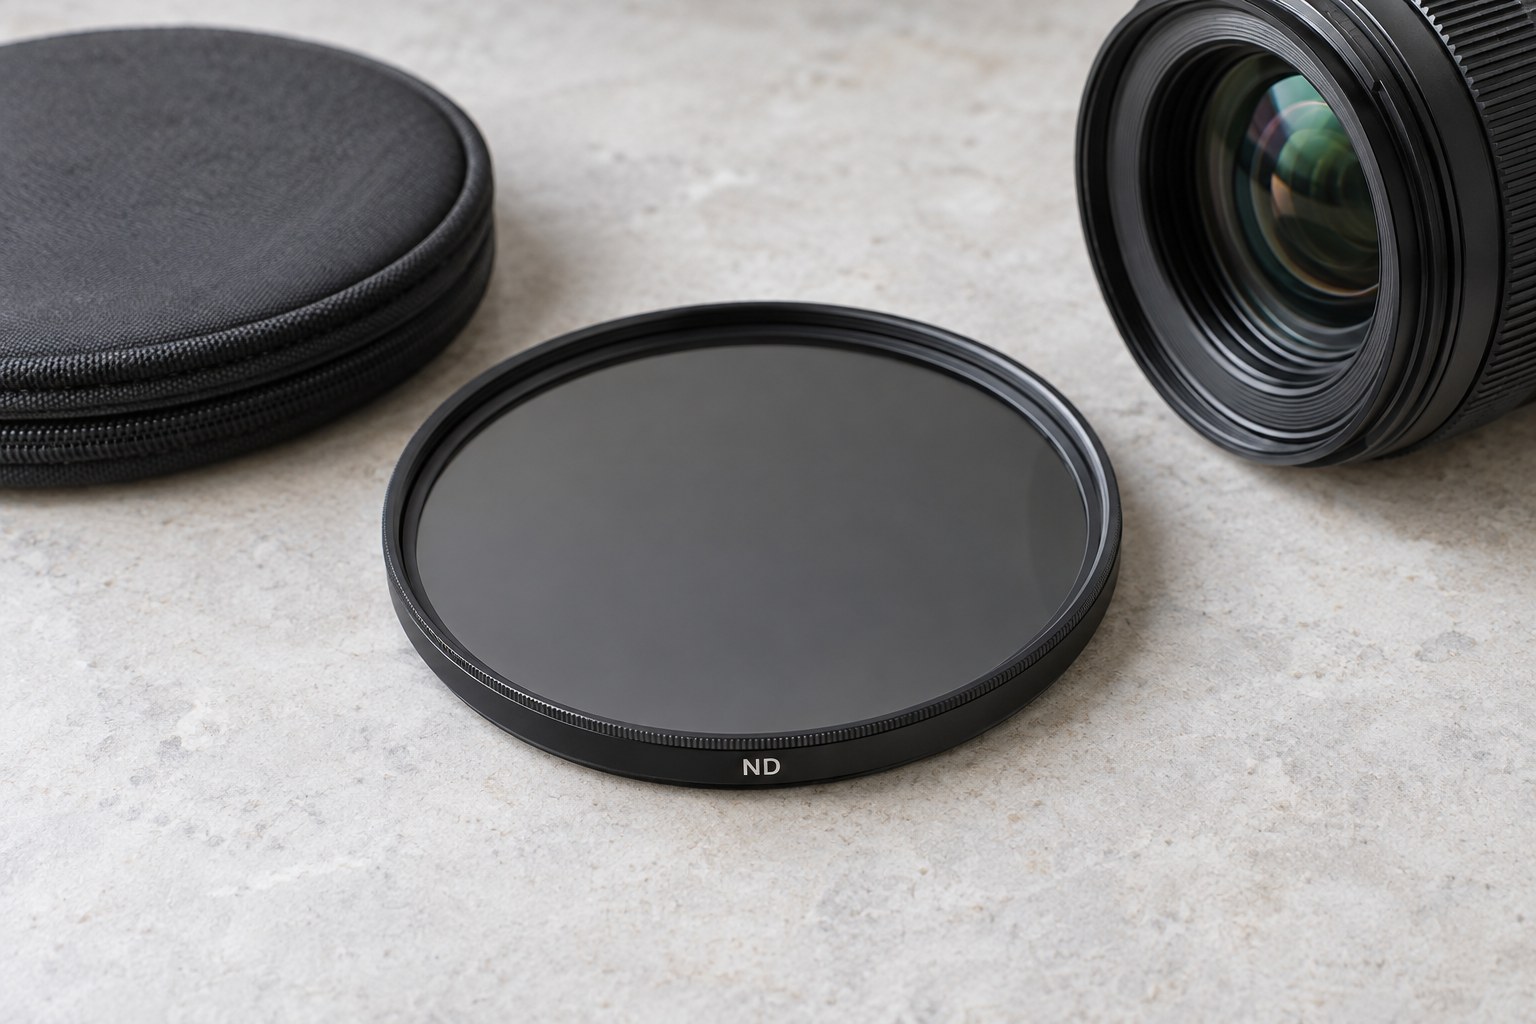
A neutral-density filter reduces the light entering the lens so that you can use a longer exposure, a wider aperture or another combination that would otherwise be too bright. For daylight movement, start with the shutter speed you want, not with the darkest filter available. Water retaining streaks may need a much shorter exposure than clouds intended to become long bands.
Make an unfiltered exposure at the aperture and ISO you want to use. Suppose it is 1/125 second and you want approximately one second. Each stop doubles exposure time: 1/60, 1/30, 1/15, 1/8, 1/4, 1/2 and one second is roughly seven stops. The rounded camera values make this a practical estimate. Confirm the result with a test frame because light and filter transmission can differ from the assumption.
Read the filter's notation carefully
Filter makers may describe strength in stops, an exposure factor or optical density. These are different ways of expressing attenuation, not interchangeable printed numbers. Check the product's own explanation before buying or calculating. A filter labelled with a factor should not be read as the same number of stops.
A fixed filter gives one nominal strength. A variable ND offers an adjustable range but can introduce uneven patterns, especially near its strongest setting and with wide views. Stay within the maker's usable range and inspect the entire frame, not just the centre. If a dark cross or broad uneven patch appears, reduce the setting or use another arrangement rather than trying to correct it with exposure alone.
Choose a diameter and mounting system that suit the lens. An adapter can allow a larger filter on a smaller thread, but may interfere with the hood or other accessories. Stacking several filters can add reflections and dark corners. Test the exact combination at the widest focal length you plan to use.
Build the exposure in a controlled order
Compose and focus before fitting a very dark filter if the view becomes difficult to see. Secure the camera and avoid moving the focus ring while attaching it. Make a short reference frame, then apply the calculated time and review brightness, colour and sharpness. A remote release or self-timer reduces the disturbance of pressing the shutter.
Watch elements that move differently. A long exposure may smooth water while turning a foreground branch into a distracting blur. The filter does not select which movement to record. Change the composition, wait for calmer conditions or shorten the exposure if the unwanted motion outweighs the intended effect.
Check for colour casts by comparing the filtered image with the reference under the same light. A modest overall shift may be adjustable, but uneven colour or strong flare can be harder to handle. Keep both surfaces clean and shade the lens from stray light where appropriate. A dark filter is still an optical surface that can introduce its own problems.
As a second calculation, suppose the unfiltered exposure is 1/30 second and the desired water texture appears around one quarter of a second. Approximately three stops are enough: 1/15, 1/8 and 1/4. A much stronger filter would force you to raise ISO or open the aperture to return to that time, undoing part of its purpose. Selecting only the needed strength keeps the rest of the exposure choices simpler.
When cloud cover changes during a long exposure sequence, recalculate from a fresh reference rather than continuing with the morning's value. A stop calculation is only as useful as the starting measurement. Keep notes of both, especially when comparing several filters, so that a changing sky is not mistaken for an inaccurate product.
Record the useful exposure time and conditions rather than only the filter name. The same filter at noon, under cloud and near sunset will produce different shutter opportunities. If the final picture has lost all the texture that made the scene interesting, use less attenuation or a shorter time. The filter should enable your chosen description of movement, not decide that description for you.