Changing focal length from one camera position changes how much of the scene fits in the frame. Moving the camera changes the relative size and overlap of near and far objects. These two actions are often combined, which makes their effects easy to confuse. A simple fixed-position comparison helps separate them.
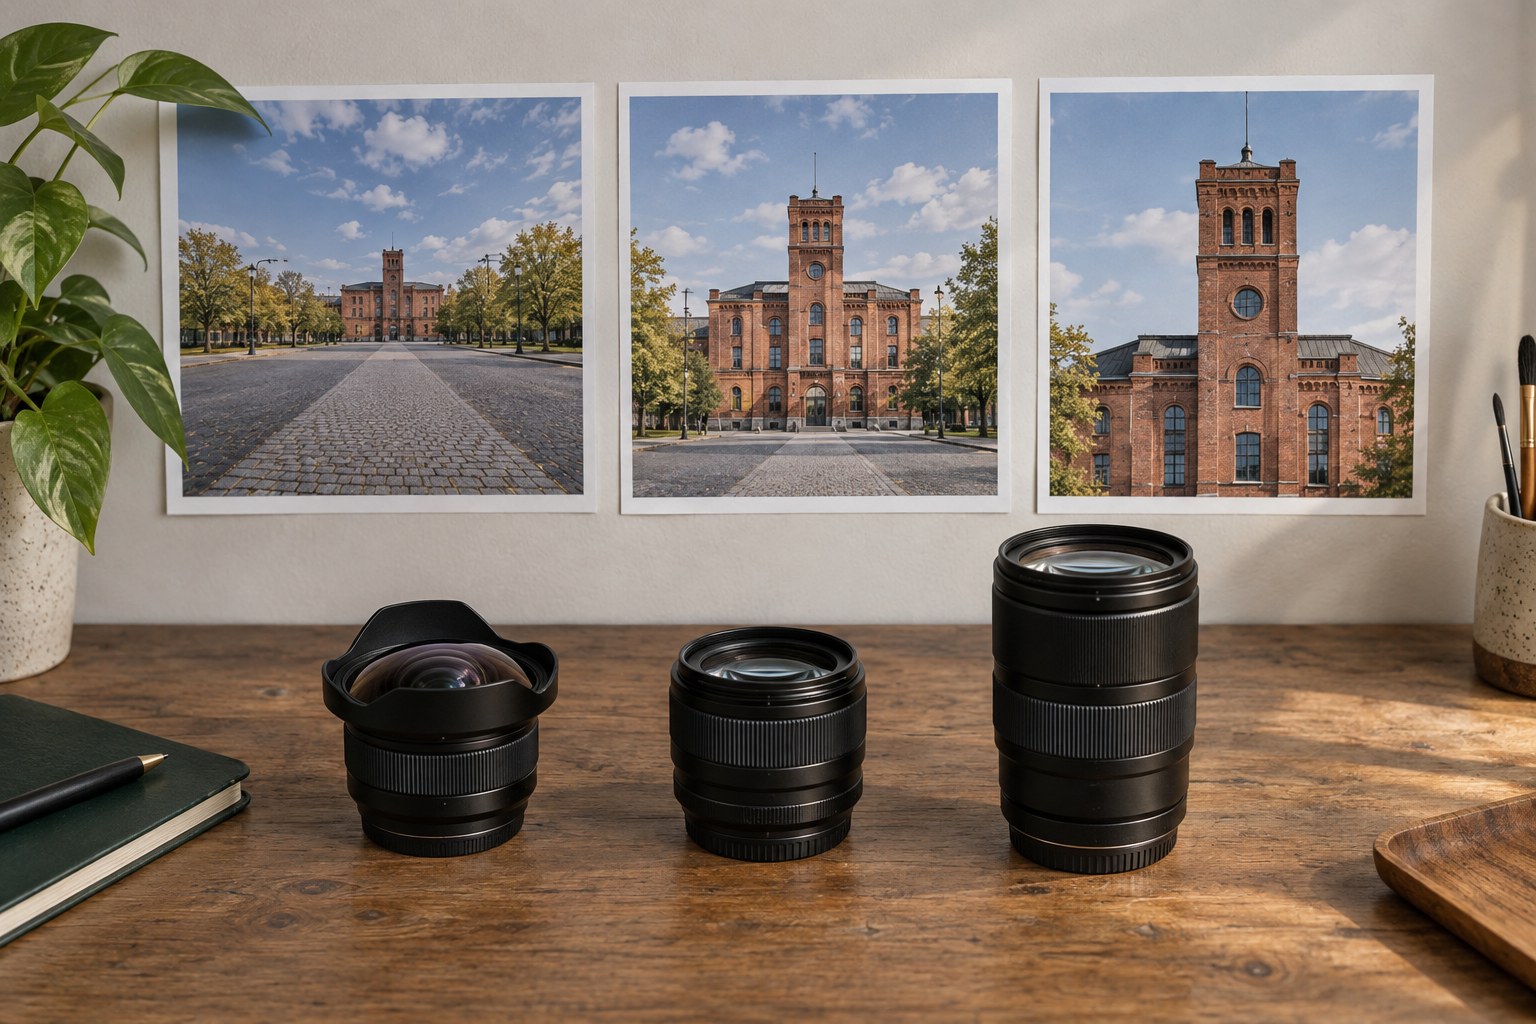
Choose a scene with a nearby object, a middle-distance object and a distant background. A bench, a tree and a building can work. Support the camera or mark a position and keep its centre in the same place. Make a wide view, a middle focal-length view and a tighter view without walking forward or backward.
Compare the overlap between the objects. The tighter image includes less of the scene, but their underlying perspective relationship remains tied to the same viewpoint. Crop the wide image to a similar framing as the longer-lens image and compare the relative sizes. Detail and rendering can differ, but the near-to-far relationship should be broadly consistent when camera position truly remains unchanged.
Now move closer with the wider focal length until the nearby object occupies roughly the same size in the frame as before. The background will appear differently in relation to it. This second comparison demonstrates the effect of viewpoint. It explains why two portraits framed to the same head size can show different facial proportions when made from different distances.
Keep aperture choices and focus under control. Depth of field and background blur may differ across the comparison, and those differences can influence how much separation you perceive. Do not use blur alone as proof that perspective changed. Look at object size ratios and overlaps, which are more direct clues.
For a portrait demonstration, use a willing subject and keep the first sequence at one comfortable distance. Frame loosely at a short focal length, then more tightly at a longer one without moving. When the loose image is cropped to the same head size, the facial proportions should remain broadly comparable. Differences in depth of field or lens distortion may still be visible, so avoid calling the files identical.
For the second sequence, move closer with the shorter lens until the head fills a similar area. Now the nose is relatively nearer the camera than the ears, so the proportions change. This is not simply a defect of the short lens; it follows the closer viewpoint used to obtain that framing. A longer lens often encourages a greater working distance, which is why the two effects are commonly associated.
Repeat the exercise with objects if a person would find the close position uncomfortable. A mug handle in front of a box provides an easy near-far relationship. Keep the object positions marked and use the comparison to decide how much space you need for your next planned photograph.
Include a note of the approximate camera-to-subject distance with each sequence. The focal length is usually recorded in metadata, but your changed position may not be. That missing information is often the reason a later comparison seems to contradict the exercise.
Inspect the frame edges as well as the centre. A wide view includes more peripheral content and may place important shapes near areas where projection stretches them. That is a composition issue you need to manage, especially with faces or round objects near the corners. A longer focal length excludes more surroundings but may require a less convenient working distance for your intended framing.
Save the two groups separately: fixed camera position and matched subject size after moving. Label them clearly. The distinction gives you a useful question in the field: do you need a different amount of scene, or a different relationship between the objects? The answer tells you whether to change focal length, position or both.