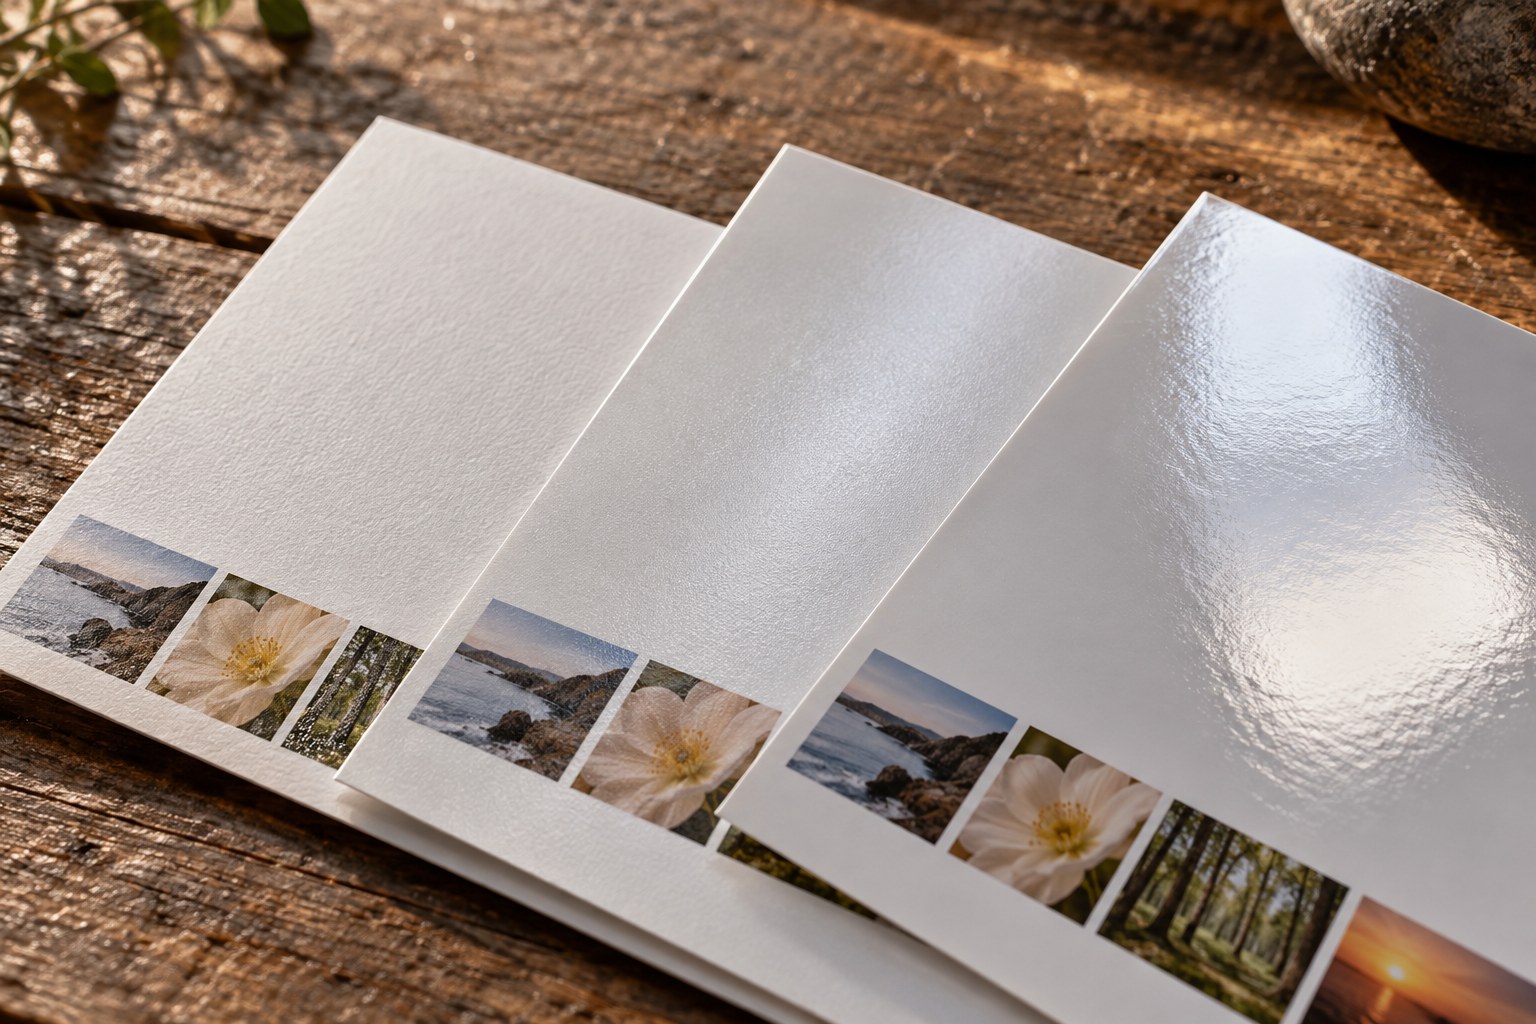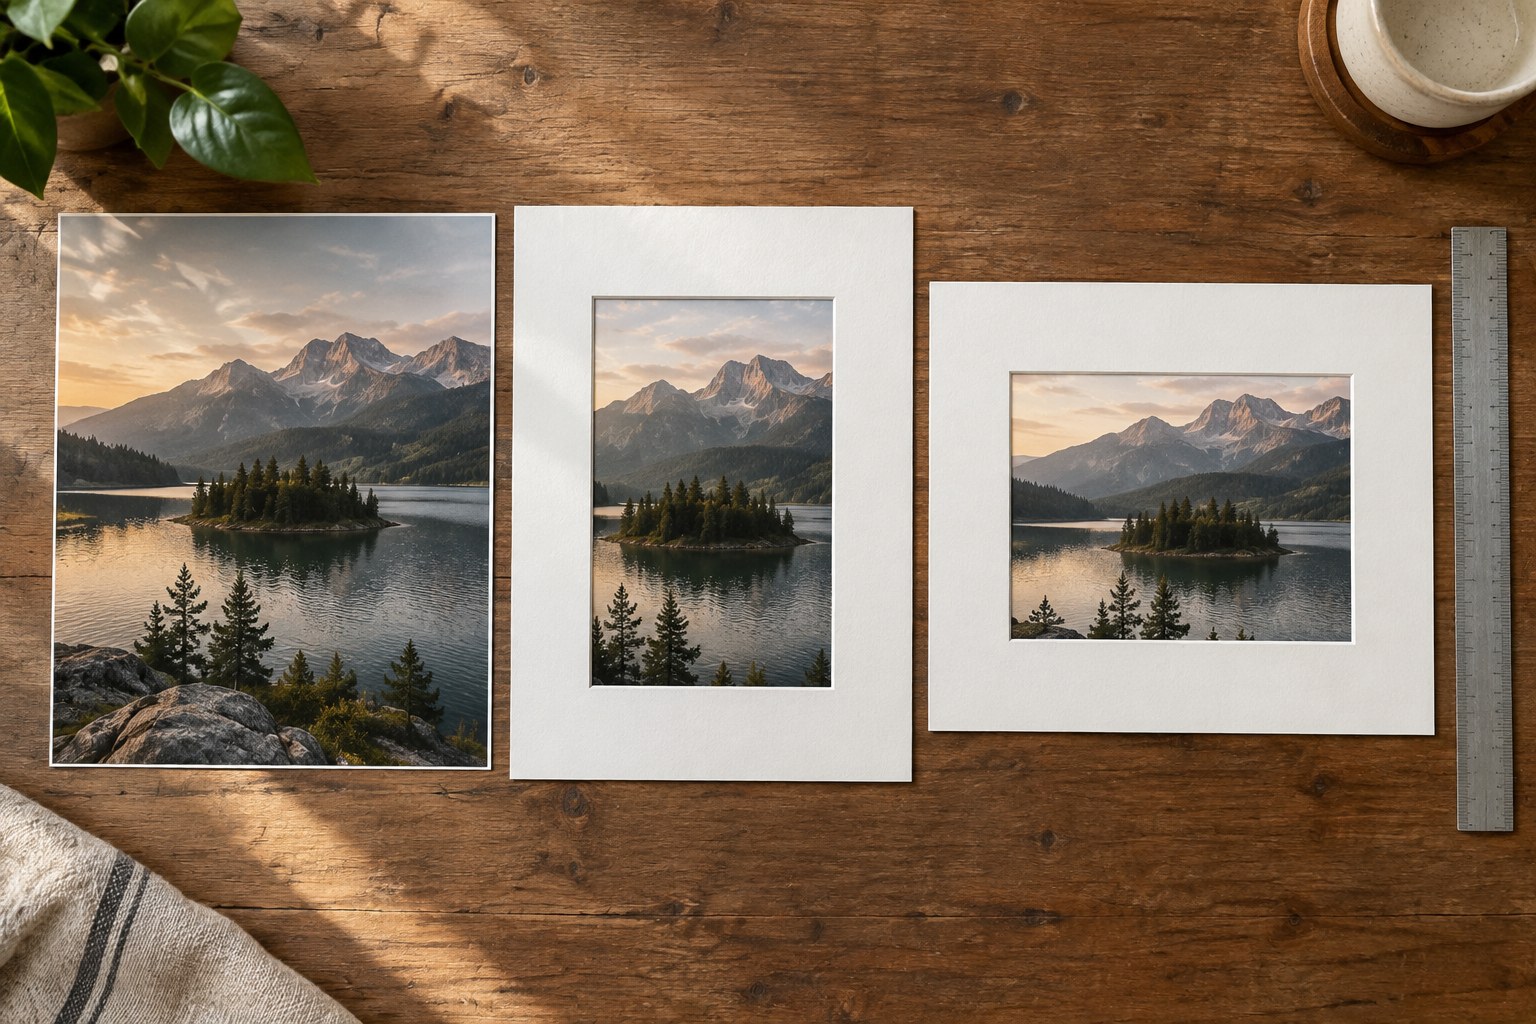
Margins are not merely leftover space. They separate an image from the edge of the page, give fingers somewhere to hold the book and influence how large the photograph feels. The same picture can look crowded on a full page or unexpectedly small inside a generous border. Test these relationships at physical size before applying one layout to an entire book.
Begin with the provider's page template. Distinguish the trim line, bleed area and safe area. The trim line describes the intended cut; bleed extends content beyond it; the safe area keeps important material away from uncertain edges. A white border is a design choice inside the page, not another name for bleed.
Allow for the centre of the book
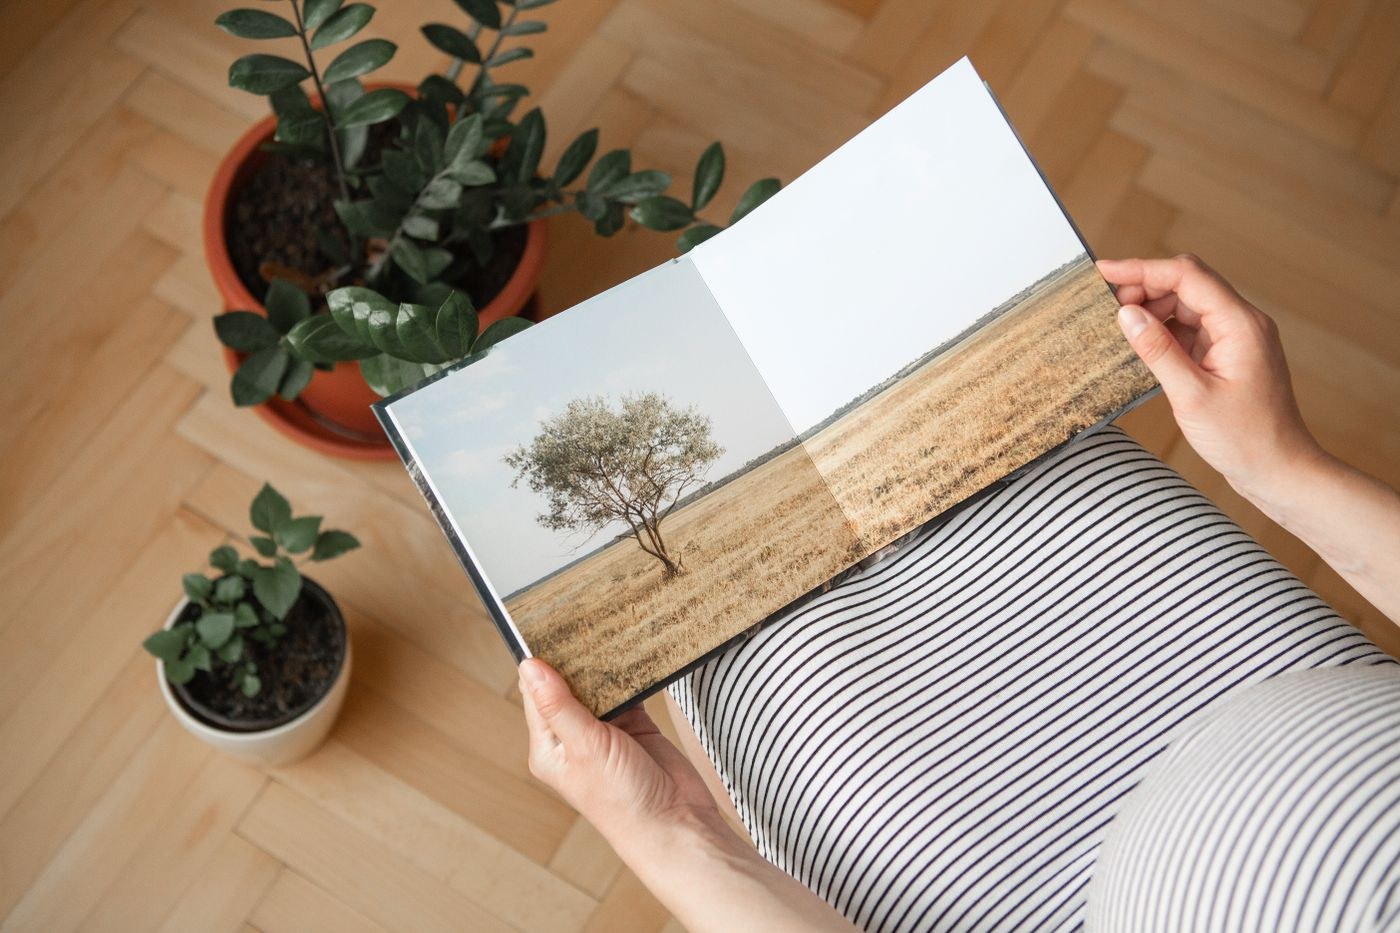
The inner margin may need more space than the outer margin because of the binding. A face close to the centre can become difficult to see even when it remains technically inside the page. Print a rough spread, fold it and hold it as a book. This will not perfectly reproduce every binding, but it exposes obvious problems before an order is placed.
If images sit on facing pages, judge the gap between them as a combined space. Two individually acceptable inner margins can create a large empty channel. Conversely, very small margins may make unrelated pictures feel joined. The aim is not always symmetry; it is a readable relationship between the photographs.
Choose a small number of margin arrangements that suit the material. A repeated baseline or outer edge can unify a book even when image sizes differ. Do not stretch a photograph to fill an opening. Preserve its proportions and decide whether the resulting extra space belongs at the top, bottom or sides.
Check captions at actual size
A caption needs room of its own. Keep a clear gap between image and text, and enough distance from the trim that the line does not appear squeezed against the edge. Print a sample page and read it at normal distance. Text that looks comfortable while zoomed in on a monitor can be much too small on paper.
Finally, examine a sequence of several spreads. A margin that works for one horizontal landscape may leave a narrow portrait looking stranded. Adjust the arrangement where the image requires it, while retaining a few consistent alignment rules. Save the accepted page styles only after this physical check; otherwise a small spacing mistake can be repeated throughout the book with great efficiency.