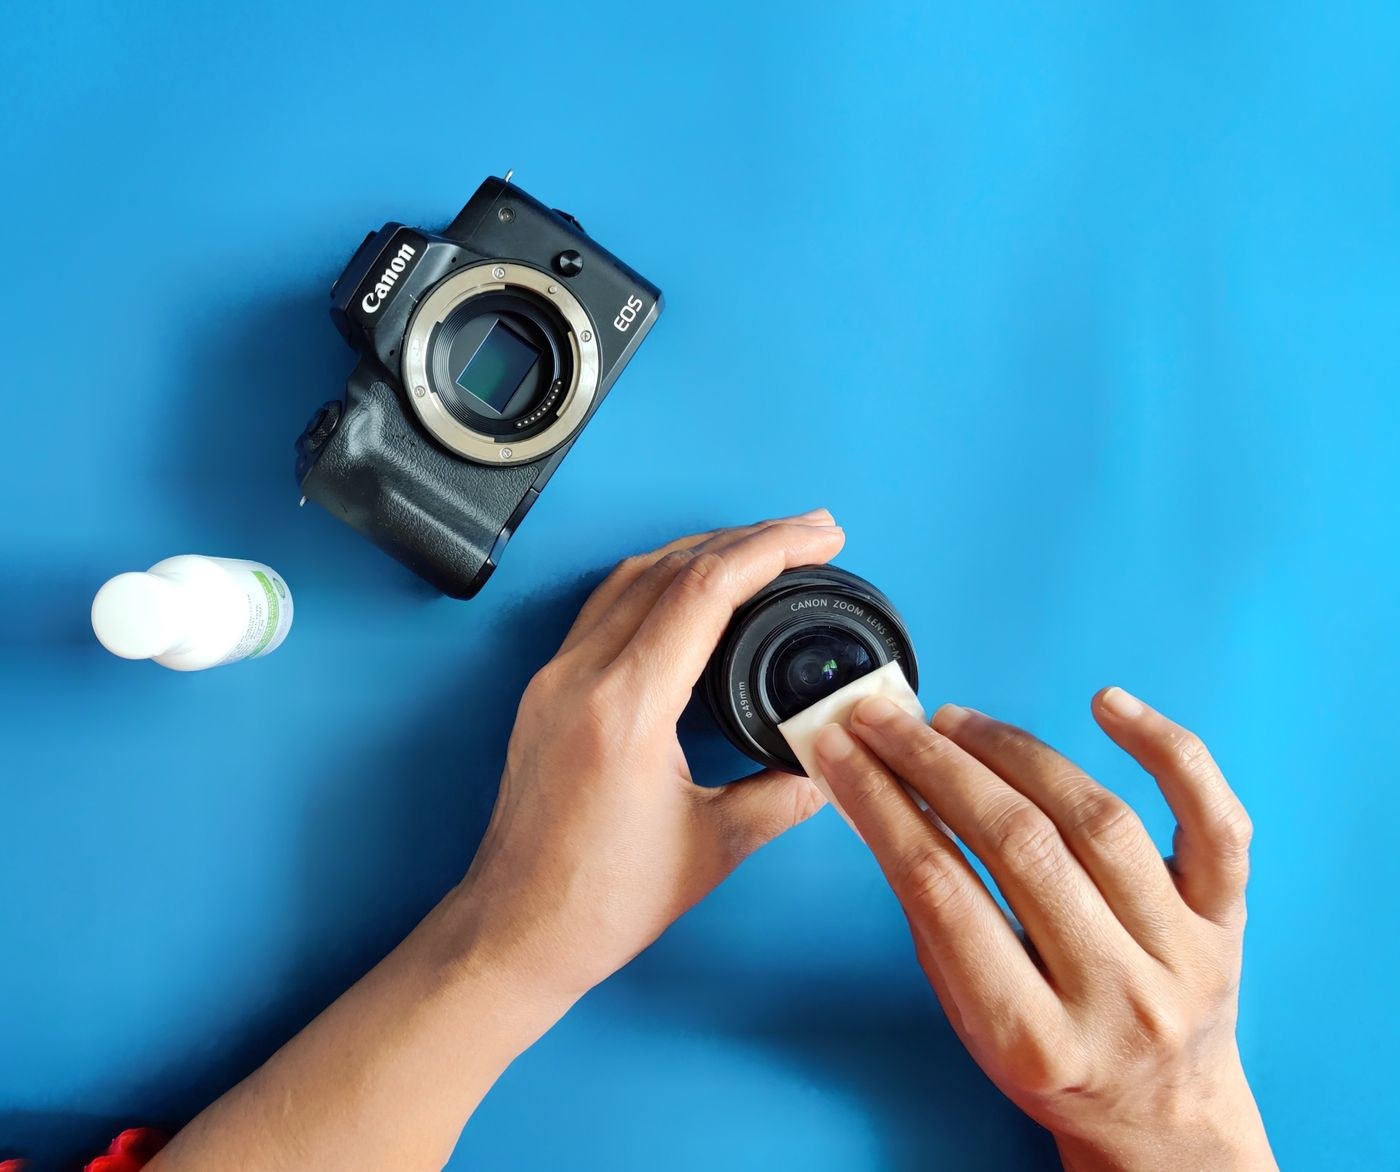
A small cleaning kit is useful when it prevents an impulsive wipe with a sleeve. For routine lens care, a clean hand blower, an appropriate lens cloth or tissue and a manufacturer-approved cleaning method are usually more relevant than a large collection of bottles. Keep the kit clean and separate from sand, food and loose items in the bag.
Inspect the lens before cleaning. A few small dust specks may not affect the picture, while a fingerprint or water mark can cause visible flare. Unnecessary rubbing adds handling without a clear benefit. Remove loose particles first with a suitable hand blower, keeping its tip from touching the glass. Do not substitute a high-pressure air source.
If a mark remains, follow the lens maker's instructions for the coating and surface. Use a clean optical cloth or fresh lens tissue and only suitable fluid where allowed. Avoid flooding the lens or letting liquid run around the edge. A dirty cloth can drag particles across the surface, so protect it in a clean pouch and replace or wash it as its maker recommends.
Do not use the same cloth on a wet camera body and then on the lens. Grit and residue picked up from the exterior can scratch or smear the optical surface. For rain droplets, first move to shelter and check whether loose dirt is present. Blot or clean according to the equipment guidance rather than scrubbing vigorously.
Treat the rear element carefully too, but avoid leaving the camera mount exposed while you organise supplies. Fit caps when the lens is off the camera. Lens cleaning and sensor cleaning are different tasks; a cloth suitable for the front element is not an invitation to wipe the sensor. Use the camera's specific guidance for that work.
After cleaning, inspect the surface under a modest angled light. Strong point lights can make every tiny trace look alarming, so connect what you see with an actual photographic problem. Make a test into similar light if flare or haze prompted the cleaning. Stop once the relevant mark is gone instead of repeatedly polishing the surface.
Before packing, check that caps and the storage pouch are clean. A dirty cap can put debris back onto a freshly cleaned lens. The simplest kit works when its tools remain uncontaminated and the cleaning sequence is deliberate: inspect, remove loose material, address the remaining mark and verify the result.