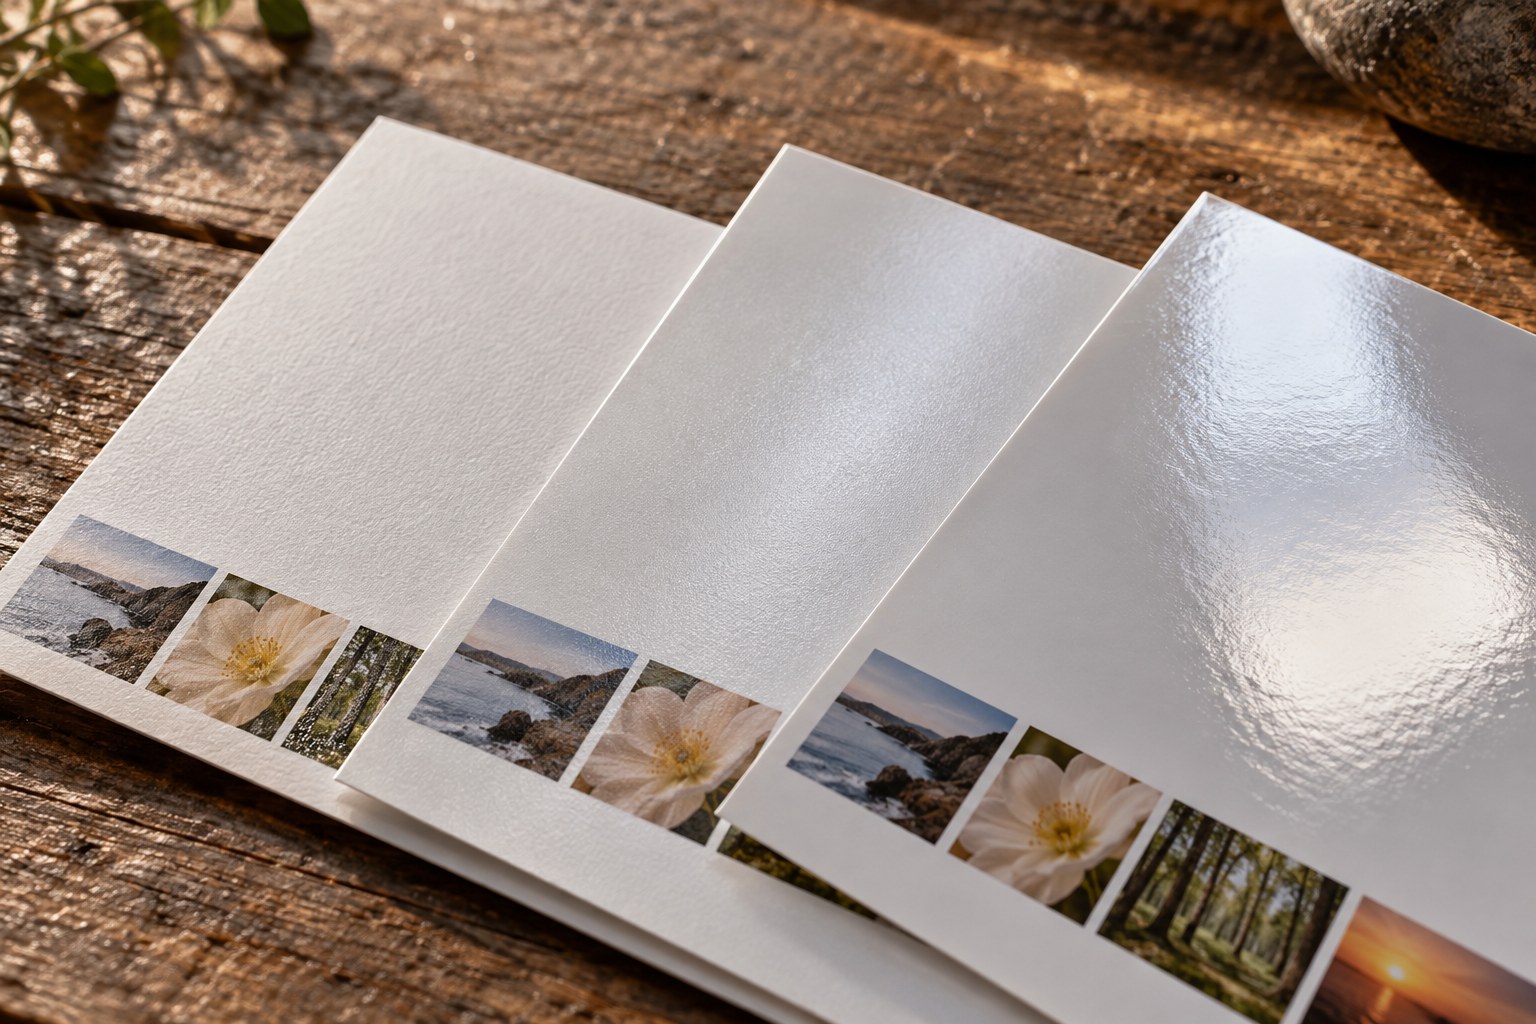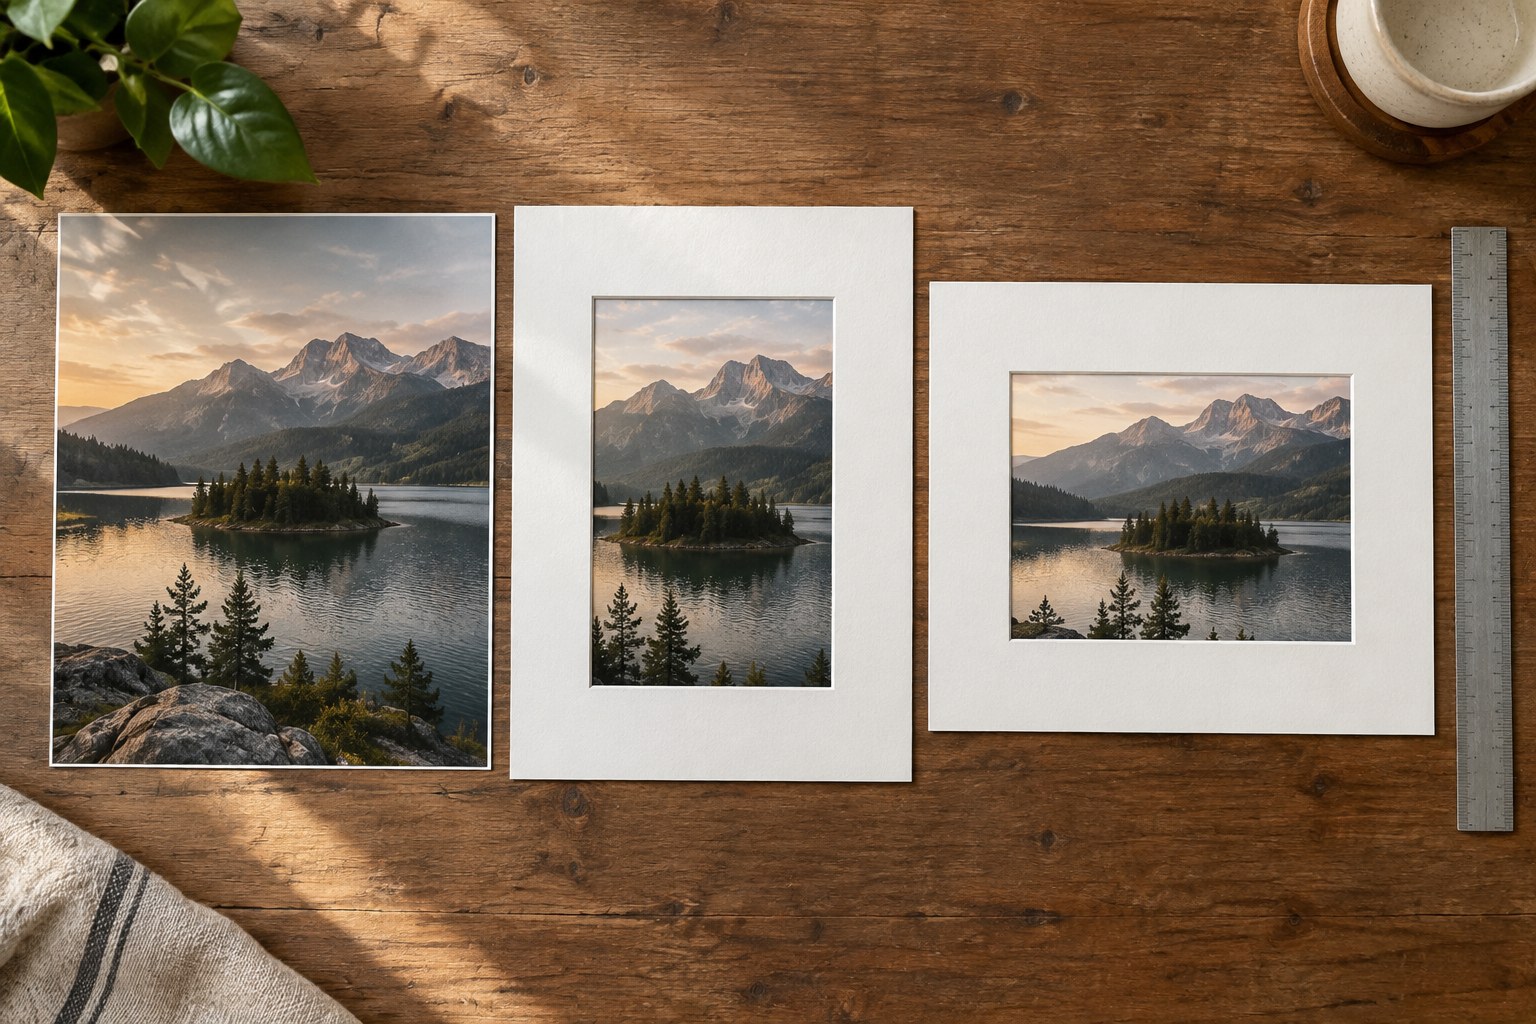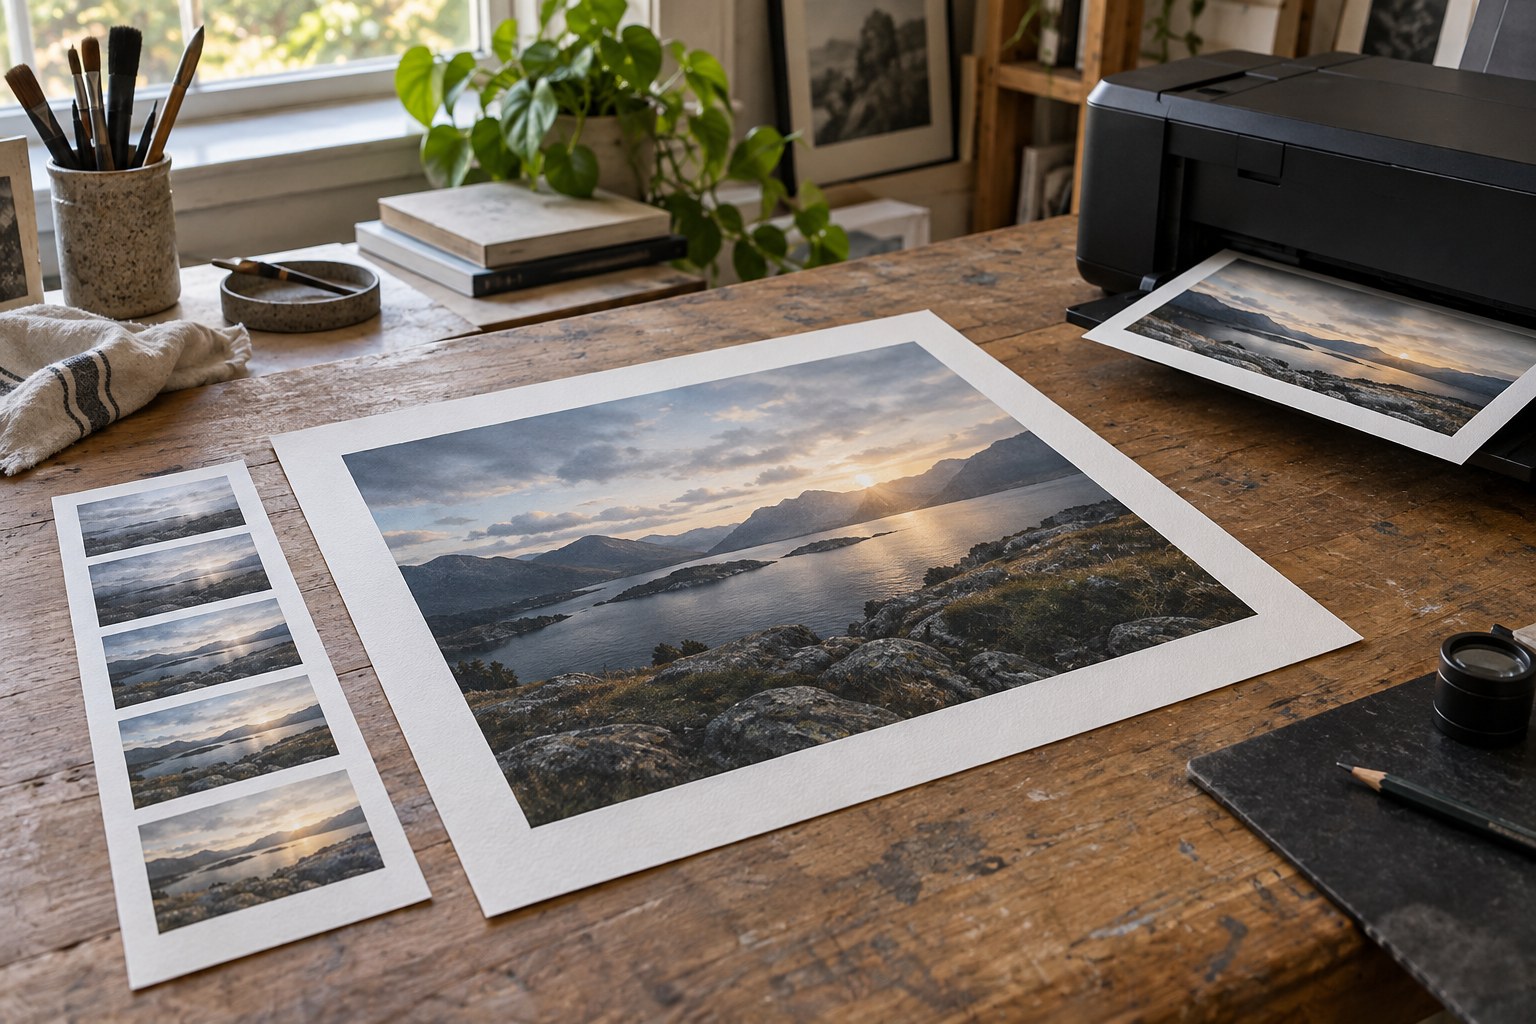
A test print is useful when it resembles the decision you are about to make. A postcard-sized copy can reveal an overall colour problem, but it cannot show exactly how a small face or a fine branch will look in a much larger print. Decide whether you are testing the whole composition, the appearance of detail at final scale or the response of a particular paper. One small sheet can contain more than one kind of test, provided each is clearly identified.
Keep the file used for the test separate from the master image. Record the version, paper and intended final dimensions. Without those details, a promising print on the desk can become difficult to reproduce a week later. If a service makes the print, keep its order information with the file rather than relying on a memory of the options selected.
Whole image and final-size detail
Print a reduced version of the complete photograph to judge the relationship between its parts. Look for an overly bright corner, a muddy middle tone or a crop that no longer gives the subject enough space. View it in ordinary room light, not only directly beneath a task lamp. A small whole-image proof is especially helpful for comparing several photographs that will be displayed together.
For detail, prepare a crop that will reproduce at the same physical scale as the final large print. If the complete image is planned at 60 centimetres wide, the detail section should retain the scale it would have within that width. Do not simply crop a small area and let a printer automatically enlarge it to fill the test sheet. That would answer a different question.
Choose a useful region: an eye and nearby skin, dark foliage against sky, lettering that matters or a textured surface. Include enough surrounding tone to judge the detail in context. A collection of tiny fragments may make technical comparison possible while hiding the way those fragments function in the photograph.
Change one cause at a time
If the first proof looks too dark, establish the viewing conditions before brightening the file. A bright monitor beside a dimly lit print can encourage unnecessary correction. Compare the print under suitable, consistent light and then decide whether the file itself needs adjustment. If you make a second version, label it and keep the first one beside it.
Avoid changing paper, colour treatment, sharpening and brightness simultaneously. A better result would then be difficult to explain or reproduce. Choose the most important unresolved issue and make a controlled comparison. For a large print, a second small proof can cost less than discovering the same problem after framing.
Inspect the proof from the expected viewing distance as well as close up. Fine noise that is visible with your nose near the paper may not matter on the wall. A strong edge halo may remain obvious from across the room. The test should help separate those cases rather than making every imperfection equally important.
Once the proof answers the question, save the accepted output settings with the file. Keep the physical sample somewhere it will not be mistaken for a rejected variant. The purpose is to make the larger order predictable within the limits of the printing process, not to spend indefinitely producing increasingly similar tests.