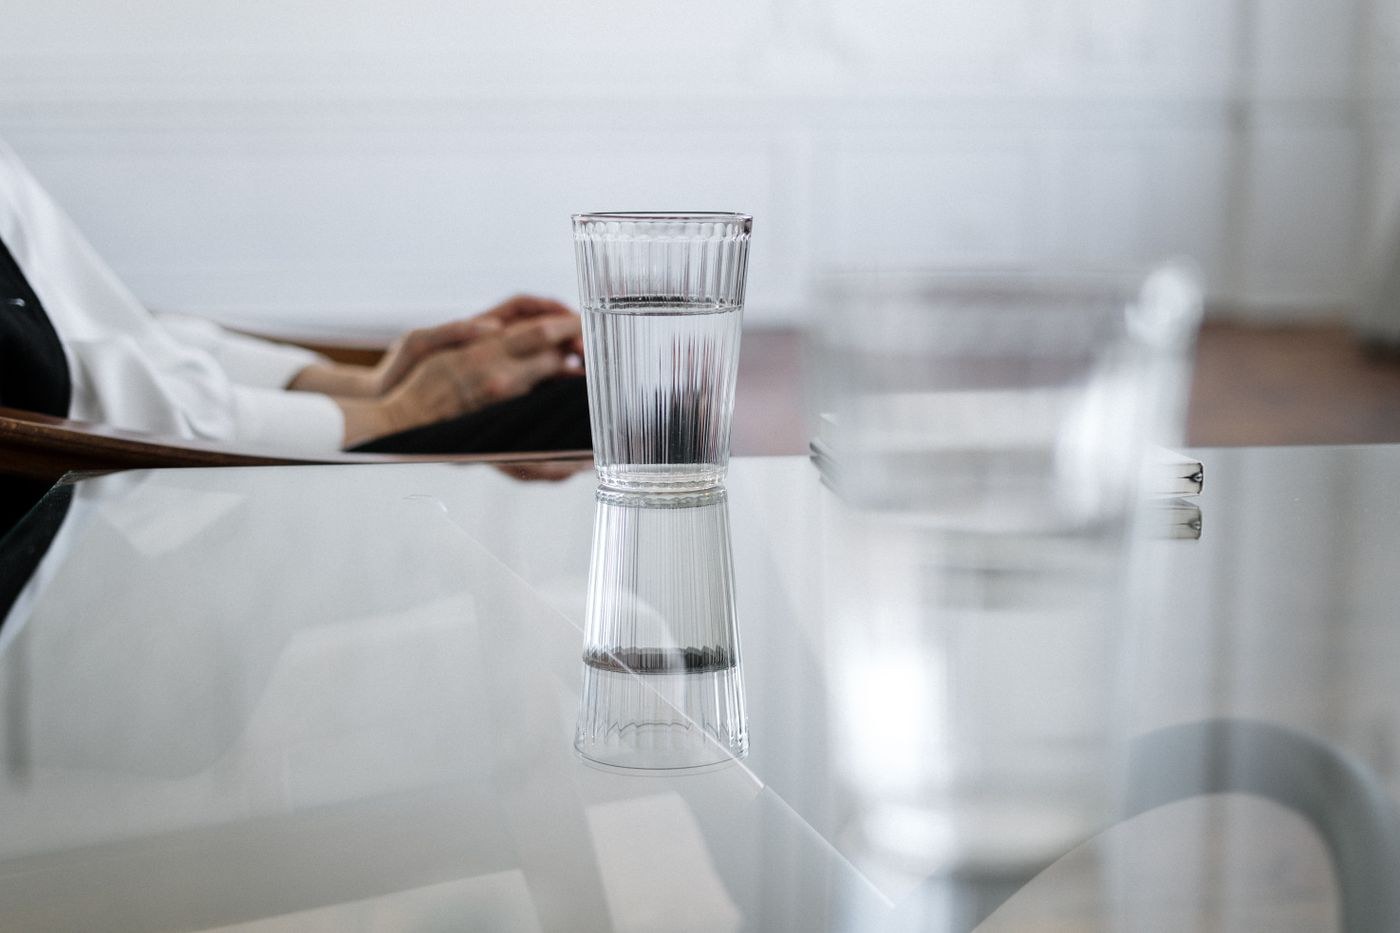
Clear glass becomes visible through edges, reflections and the way it changes the background behind it. Removing all reflections can make the object disappear. The task is to choose which reflections describe its shape and which ones reveal unwanted clutter. Begin with one clean glass object, a plain background and a camera position that can remain fixed while you adjust the surroundings.
Clean fingerprints before arranging the light. Handle the object by an area outside the frame or use a clean cloth, then inspect the rim and base. Dust and smears become conspicuous when bright reflections cross them. It is easier to remove a fingerprint physically than to reconstruct a curved highlight in editing.
Work with large reflected shapes
Place a broad light area beside or behind the glass and observe how it appears on the surface. A window, a white board lit by the window or a large diffuser can form a long reflection that describes a curve. Move it gradually. The reflection may change dramatically even though the object has barely moved, because the camera sees a different reflected angle.
Use dark cards outside the frame to create darker edges when the glass blends into a pale background. Their placement is an experiment in what the surface reflects, not simply a matter of making the room darker. Watch the entire outline: improving one side can add an unwanted dark patch to the bowl or base. Make one change at a time and keep a reference image.
Check whether the camera, your clothing or a bright doorway is reflected. Wearing a dark plain top and simplifying the area around the lens can reduce distractions, but avoid building an unstable enclosure around the equipment. For a bottle with a label, you may need a different angle for readable lettering and a pleasing glass edge. Decide which feature carries the photograph.
Exposure is only part of the control
A bright narrow reflection may clip before the rest of the object looks clear. Reduce exposure enough to retain the important highlight, then assess whether changing its size or position would work better than darkening the whole image. A larger reflection with a soft transition can describe the form more clearly than a tiny brilliant point.
A polarising filter can alter some reflections, but it will not remove every reflection from a curved glass object. Its effect changes with angle, and it also reduces light reaching the camera. Rotate it while watching the actual surface, then compare an unfiltered frame. Keep the version with the more understandable shape rather than the fewest visible reflections.
Use manual focus or a carefully placed autofocus point on a visible edge. Transparent areas may give the camera little to lock onto, and it can focus on the background instead. Check the rim at magnification and choose enough depth for the important part of the object. A sharp background seen through a soft glass edge usually does not solve the problem.
Try a simple glass tumbler against both a pale and a dark background without moving the camera. On the pale version, dark cards can define the sides; on the dark version, broad bright reflections can provide the outline. The same object may need a different arrangement because visibility now depends on the opposite tonal relationship. This comparison is more informative than repeatedly changing exposure in one setup.
If you add water, check the new boundary and any bubbles before shooting. The liquid changes reflections and refraction, so the empty-glass arrangement may no longer work. Wipe the outside and allow unwanted bubbles to settle. Keep electrical equipment clear of spills and avoid filling a fragile object while it sits above the camera or other equipment.
For a repeatable tabletop exercise, use a plain drinking glass with a broad window to one side and a sheet of pale card behind it. Begin with no extra cards. Add one dark card just outside the left edge of the view and move it until a useful dark line appears on the glass. Then add a second card on the other side. Photograph each stage without changing the exposure. You will see which edge each card affects and whether their reflections compete with the window.
Do not immediately make the two sides symmetrical. A slightly stronger edge on one side may match the direction of the light and give the object more volume. If the base becomes a confusing collection of stripes, move the cards farther away or change their height. Finish by removing one card again. The comparison tests whether the added control simplified the shape or merely introduced more visible lighting equipment.
For the final review, look at the silhouette first, then the interior reflections. The object should have a continuous, readable form without every surface needing equal brightness. Preserve one frame of the complete setup for your own notes if you need to repeat it. Small changes in card position can matter more than a long list of camera settings.