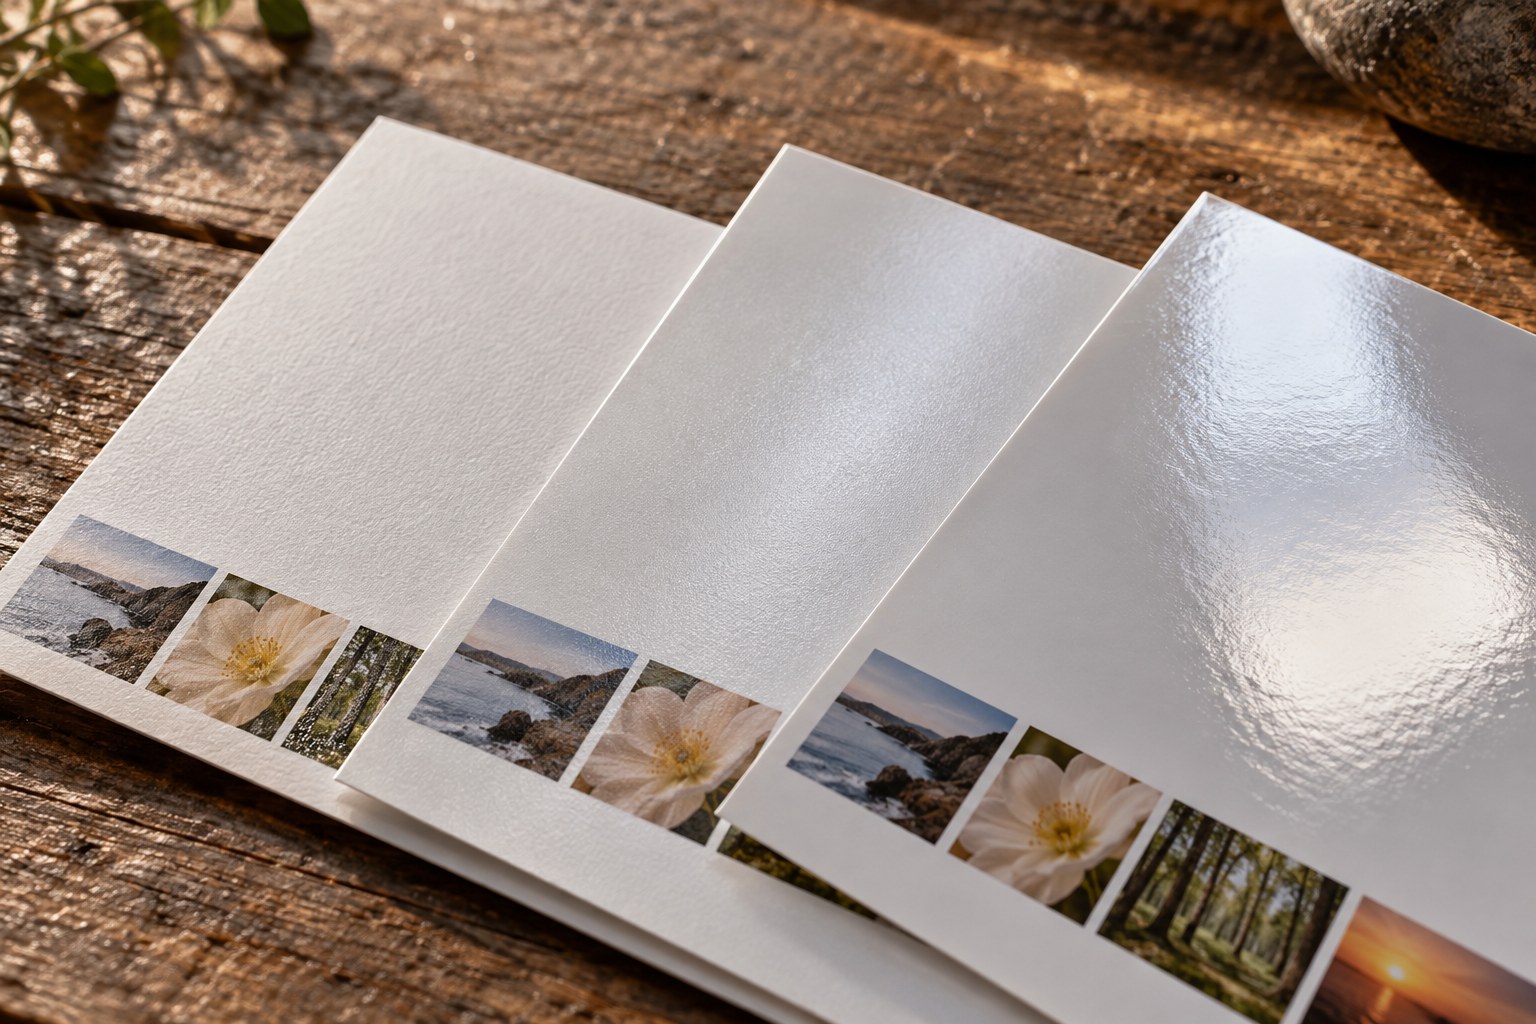
There is no single export recipe for every print service and product. A loose photographic print, a bound book and a panel with wrapped edges can require different dimensions and allowances. Start from the exact product you plan to order, not from a general recommendation found in an unrelated tutorial. Save its current preparation instructions with your project notes.
Read the accepted file formats, colour-space guidance, size limits and cropping rules. Check whether the service expects an embedded profile and whether it offers automatic image correction. Do not convert to an unfamiliar colour mode simply because the result will be printed. Follow the service's specified workflow for that product.
Prepare an output copy
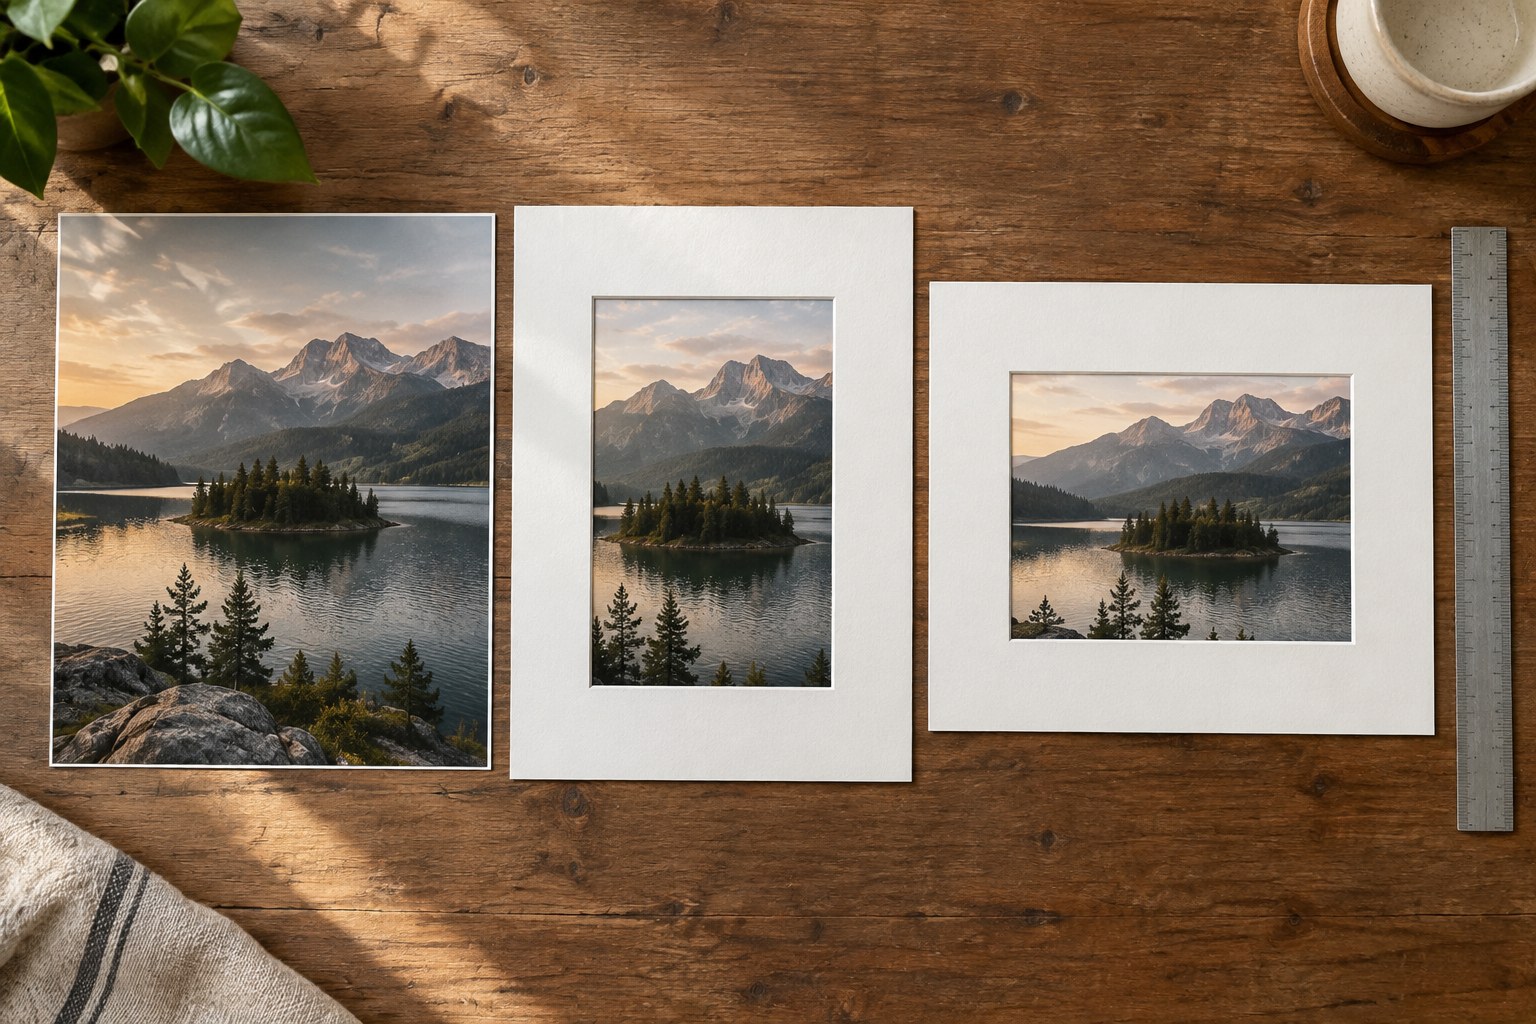
Keep the master image and create a separate delivery file. Apply the intended crop before export so that the service's preview does not become the first place you notice missing content. If the product includes a border, mount, fold or wrapped edge, identify which parts of the file remain visible on the front. Keep essential faces and text away from areas that may be trimmed or hidden.
Check pixel dimensions against the physical output size. For example, an image 3,600 pixels wide printed 12 inches wide provides 300 pixels per inch. This arithmetic describes the available sampling density; it does not guarantee quality. Focus, motion blur, noise, compression and viewing distance still matter. A resolution warning should prompt inspection, not an automatic assumption that enlarging the file creates new detail.
Choose output sharpening for the actual size and medium if your workflow provides it. Inspect the result for halos around branches, roofs or lettering. Avoid repeatedly opening and resaving a compressed delivery file while making small changes. Return to the master or a lossless working version and export a fresh final copy instead.
Treat the upload preview as a checkpoint
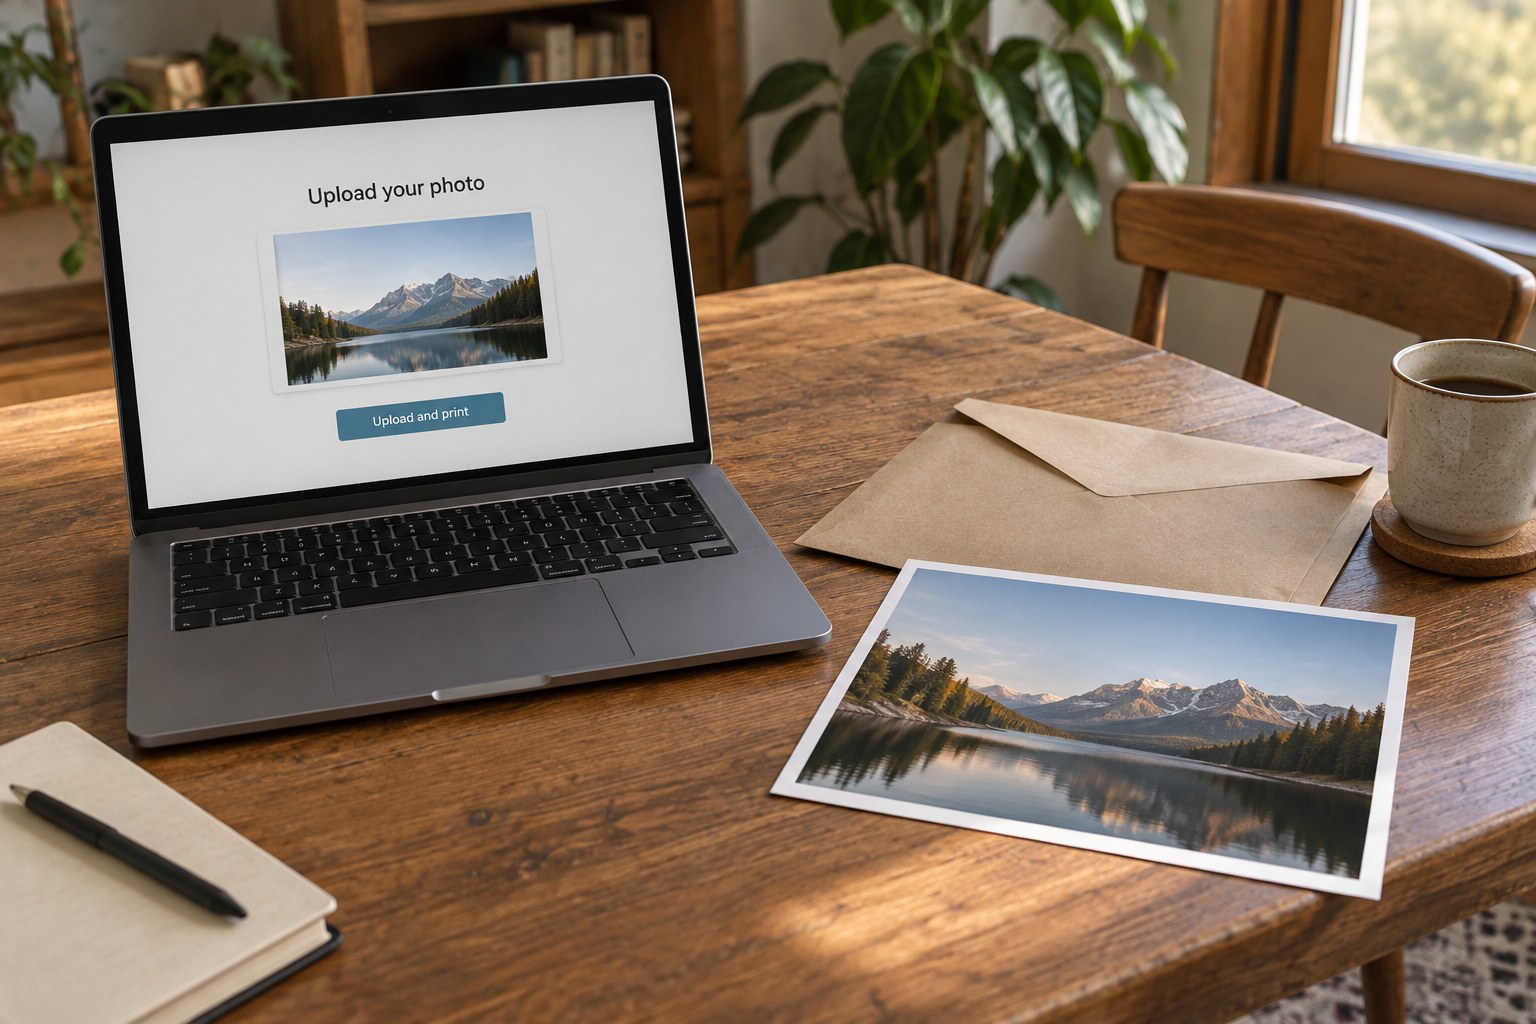
After uploading, inspect the complete preview and any crop or border controls. Confirm orientation, visible edges and the selected physical size. A service may fill its chosen format by trimming part of the image unless you select a different fitting option. Do not assume the filename's dimensions control the order.
Review enhancement settings explicitly. If you have already prepared the image's colour and tone, decide whether an additional automatic adjustment is appropriate. Record the chosen option. Otherwise a later reprint may differ because a default changed or a checkbox was overlooked.
For a series, open each uploaded image rather than checking only the first. Portrait and landscape files can behave differently within one product configuration. Verify that filenames and quantities correspond to the intended images, especially when near-identical versions exist. A short order list can prevent paying for the wrong alternate crop.
Before a costly or unfamiliar output, use a smaller test from the same workflow when available. Preserve the accepted file, order settings and any proof notes together. This makes a later reprint traceable and gives a service representative useful information if something differs. Preparation ends when the uploaded product preview and the intended physical object agree, not merely when the export progress bar finishes.