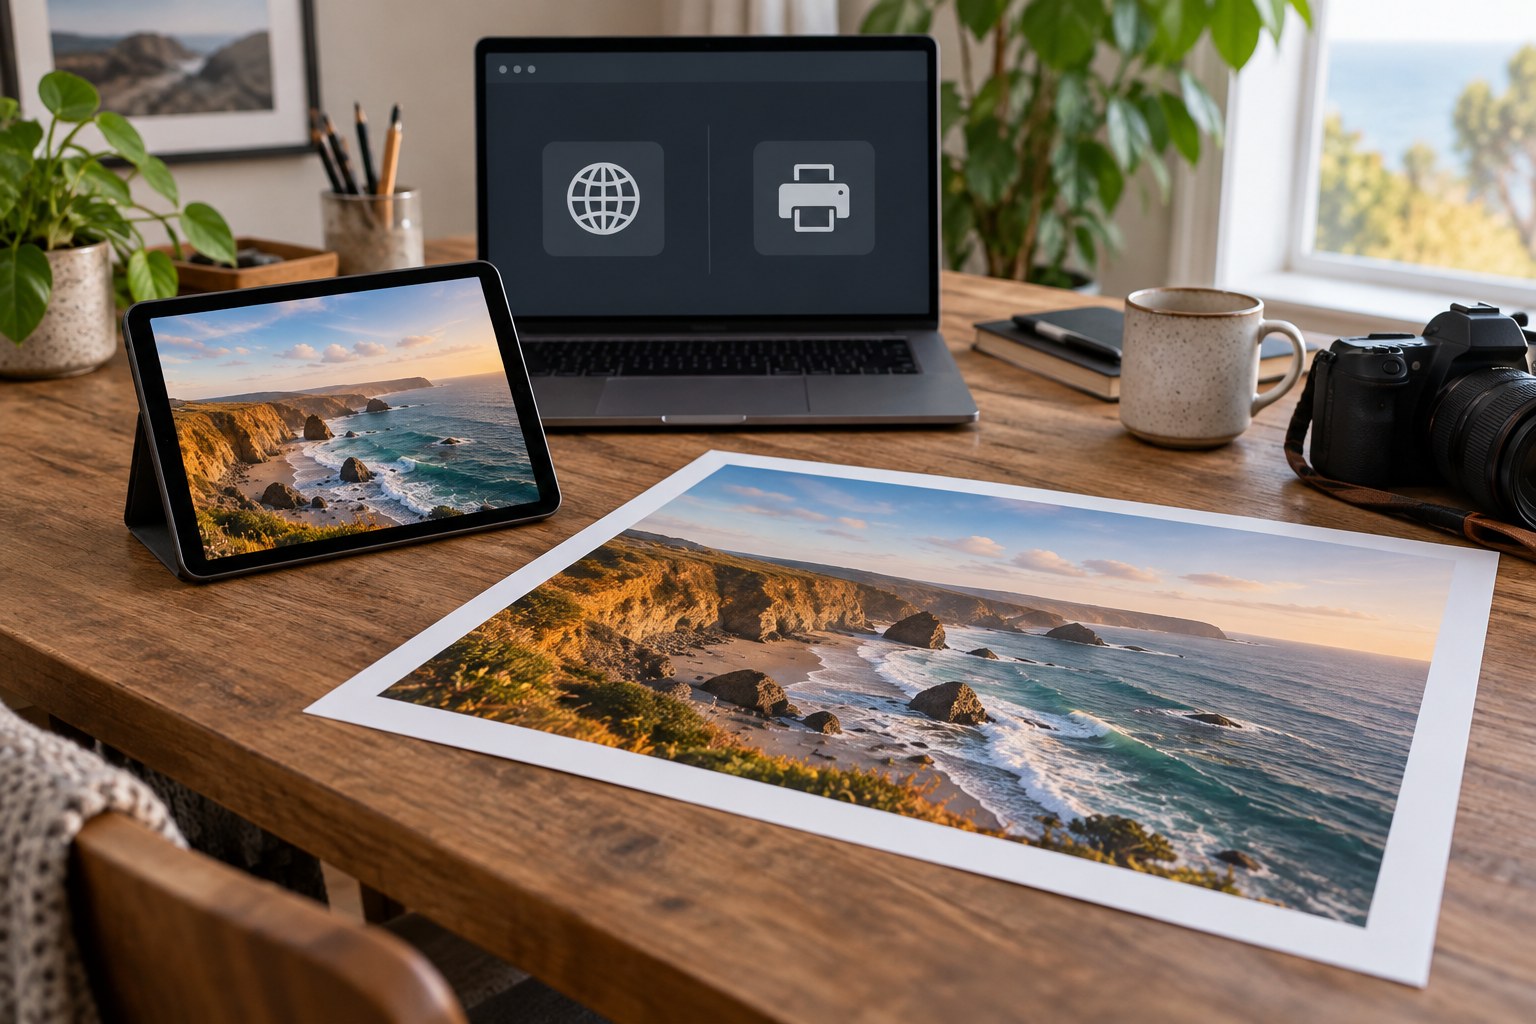
A web image and a print file can come from the same finished edit without being the same export. A website may need a compact file at specific pixel dimensions, while a print service may need enough pixels for a physical size and a particular colour profile. Keep an editable master and produce separate derivatives instead of repeatedly resizing one already exported JPEG.
Start with the destination's actual requirements. For a website, find the image's displayed size, allowed file types and any upload limit. For a print, confirm the requested dimensions, crop ratio, file type and colour instructions from the lab or printer workflow. Do not assume that every printer wants the same profile or that a larger file always improves the result.
Calculate size without confusing units
Web dimensions are normally specified in pixels. Changing only a pixels-per-inch metadata value does not turn a small image into a detailed large one. For print, physical size and pixel count relate through the chosen output resolution. An eight-by-ten-inch image at 300 pixels per inch requires 2400 by 3000 pixels. That is a calculation example, not a claim that every print must use 300 ppi.
Check aspect ratio before exporting. A camera frame may not match the requested paper size. Choose a deliberate crop or ask for borders rather than allowing an automatic service crop to remove a head or useful edge. Keep the print crop as a separate version if the web composition needs a different shape.
If the source has fewer pixels than the destination request, inspect a test at the final scale before deciding how to enlarge it. Interpolation can create additional pixels, but it does not recreate every detail the camera failed to capture. A smaller print, a less severe crop or a realistic viewing distance may be more useful than aggressive enlargement.
Make the two deliveries independently
For a conventional web delivery, an appropriately sized JPEG converted to sRGB with its profile included is a broadly useful starting point, unless the platform specifies something else. Choose compression by inspecting the exported file, especially smooth skies and fine edges. There is no universal quality-slider number shared by all programs. Compare visible damage and file size at the intended display dimensions.
For print, follow the recipient's colour instructions. Do not assign a different profile merely to make the file label match a request; conversion and assignment have different effects. If you use a soft-proofing workflow, make any print-specific adjustment on a copy or virtual version so that it does not silently alter the web rendition. Embed the profile required by the actual workflow.
Apply output sharpening after the export dimensions are set, using an amount appropriate to the medium. Inspect the web file on screen and use a test print for important physical output. Strong screen sharpening can produce harsh printed edges, while a print-oriented setting may look excessive when viewed pixel by pixel. The medium provides the final judgement.
Name and store the outputs so their purpose is obvious, for example a web folder and a print folder with size included in the filename. Check metadata before sharing: retain information you need, but remove sensitive location or personal details where appropriate. Do not rely on a platform to make that decision for you.
Open the actual exported files, not only the editing preview. Confirm dimensions, crop, profile and appearance, then upload or send the correct derivative. Keep the master separate from both. If the destination changes later, export again from that master rather than enlarging or recompressing yesterday's delivery.