Start with the uncorrected image and identify the problem. A sideways tilt makes a reliable horizontal line slope. Upward camera tilt makes verticals converge. Lens distortion can bend lines that should be straight. These effects are related in appearance but need different controls. Applying a strong perspective correction before understanding them can stretch the building without fixing the actual issue.
Apply an appropriate lens correction if your software has a matching profile and the image benefits from it. Inspect the result rather than assuming the profile is always preferable. Then remove accidental rotation using a trustworthy reference. A sloping roof, hillside or decorative cornice may not be level in reality, so choose structural references carefully.
Correct only as far as the photograph supports
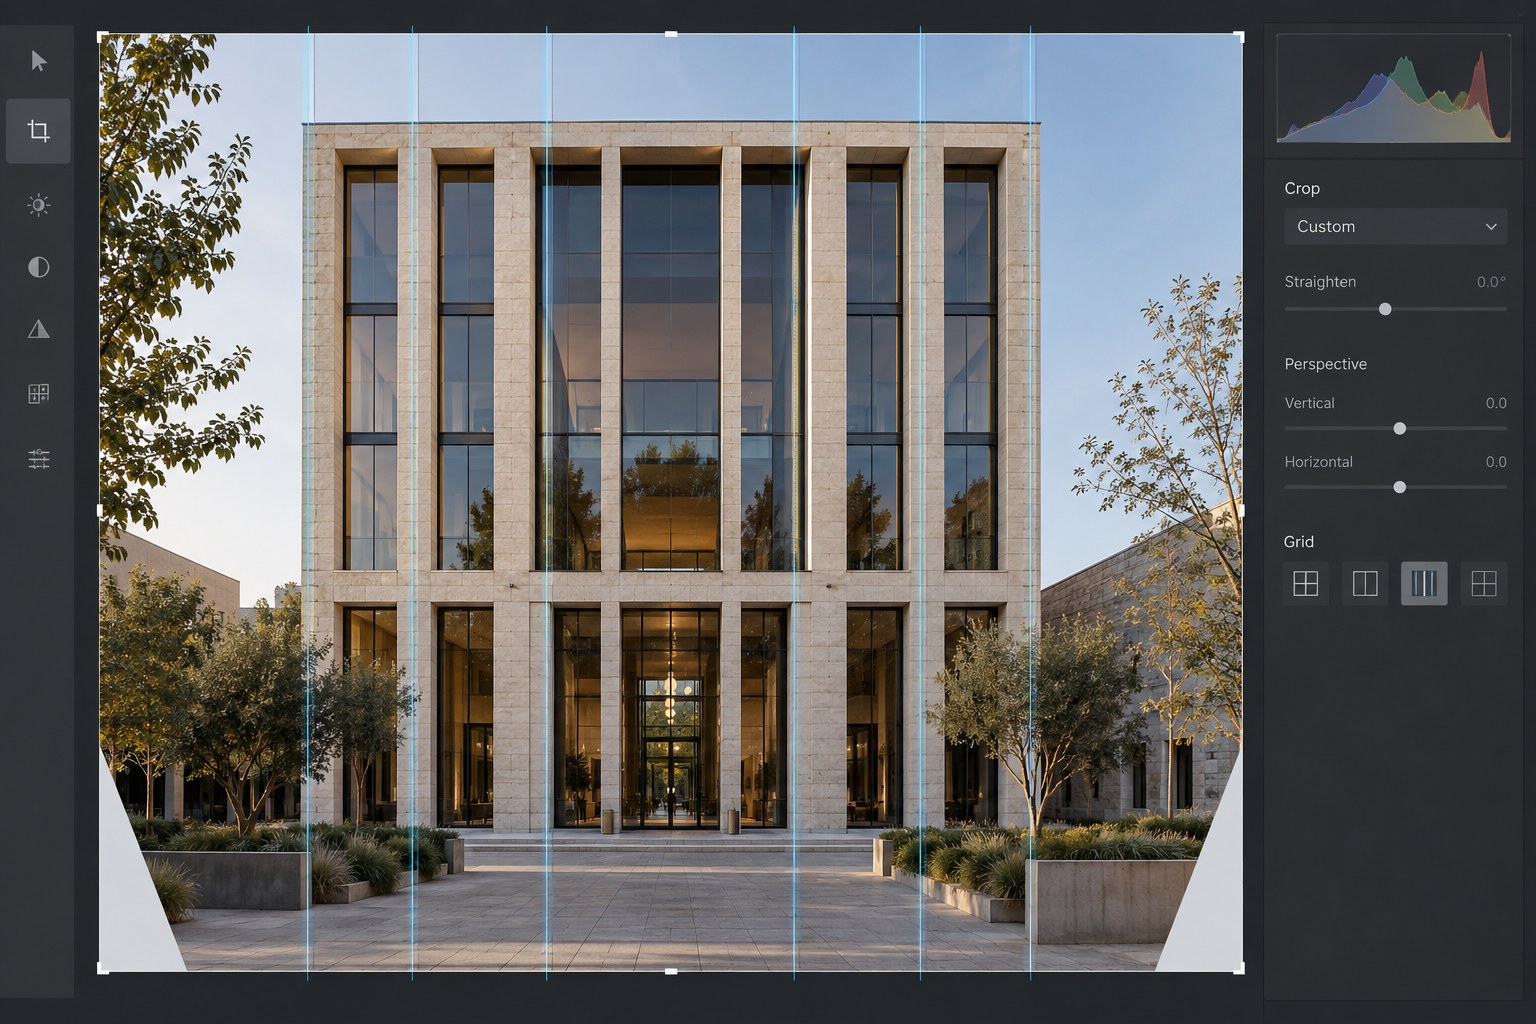
Adjust vertical perspective gradually. Watch both sides of the building and the proportions of windows near the top. Full parallel alignment can be useful for a neutral elevation, but it may make a strongly upward view look stretched or top-heavy. A small remaining convergence can preserve a believable sense of looking up.
Use guided corrections on lines that are genuinely parallel in the structure. Do not select two edges merely because they appear prominent. Different façades or deliberately tapered architectural elements may not support the same correction. Compare the adjusted image with the original to distinguish a software artefact from a real feature of the building.
Perspective changes often create empty corners and reduce the usable crop. Check the roofline, base and neighbouring objects before accepting an automatic crop. If a critical corner disappears, reduce the correction or choose another frame with more space. Enlarging or synthesising missing content is a separate creative operation and should not be confused with straightforward geometric correction.
When a full correction costs the roof
Suppose straightening a tall façade removes its upper corner from the available crop. Make two versions: a stronger correction with a tighter composition and a gentler correction retaining the complete roof. Compare what each loses. The first may be appropriate for a study of windows, while the second better describes the whole building.
Do not let an automatic crop decide the subject on your behalf. If the roofline is the reason for the photograph, retaining it matters more than perfect vertical alignment. A note for the next visit can specify a wider frame or a more distant viewpoint. That is a useful response to the file's limit; stretching missing architecture back into view is not a substitute for recorded content.
Inspect the whole scene
Trees, cars and people near the edges can reveal excessive stretching even when the building looks tidy. Examine circles, faces and familiar proportions. A correction optimised for the façade may distort the surroundings enough to weaken the photograph. In that case, a less ambitious adjustment may be the better compromise.
Check the horizontal relationship between façades too. A corner view naturally shows different widths depending on the viewpoint. Trying to make both sides look equally broad can erase the perspective that explains the building's form. Straightening should not turn a three-dimensional view into an invented flat plan.
Finally, make the crop and compare at normal viewing size. A geometrically precise image can still feel unbalanced if too much foreground is removed or the building touches the frame. Save a reversible version and retain the source. Record the adjustment as perspective correction if the photograph is used in a context where the treatment matters. The result should look intentional and spatially credible, not simply maximise the number of parallel lines.