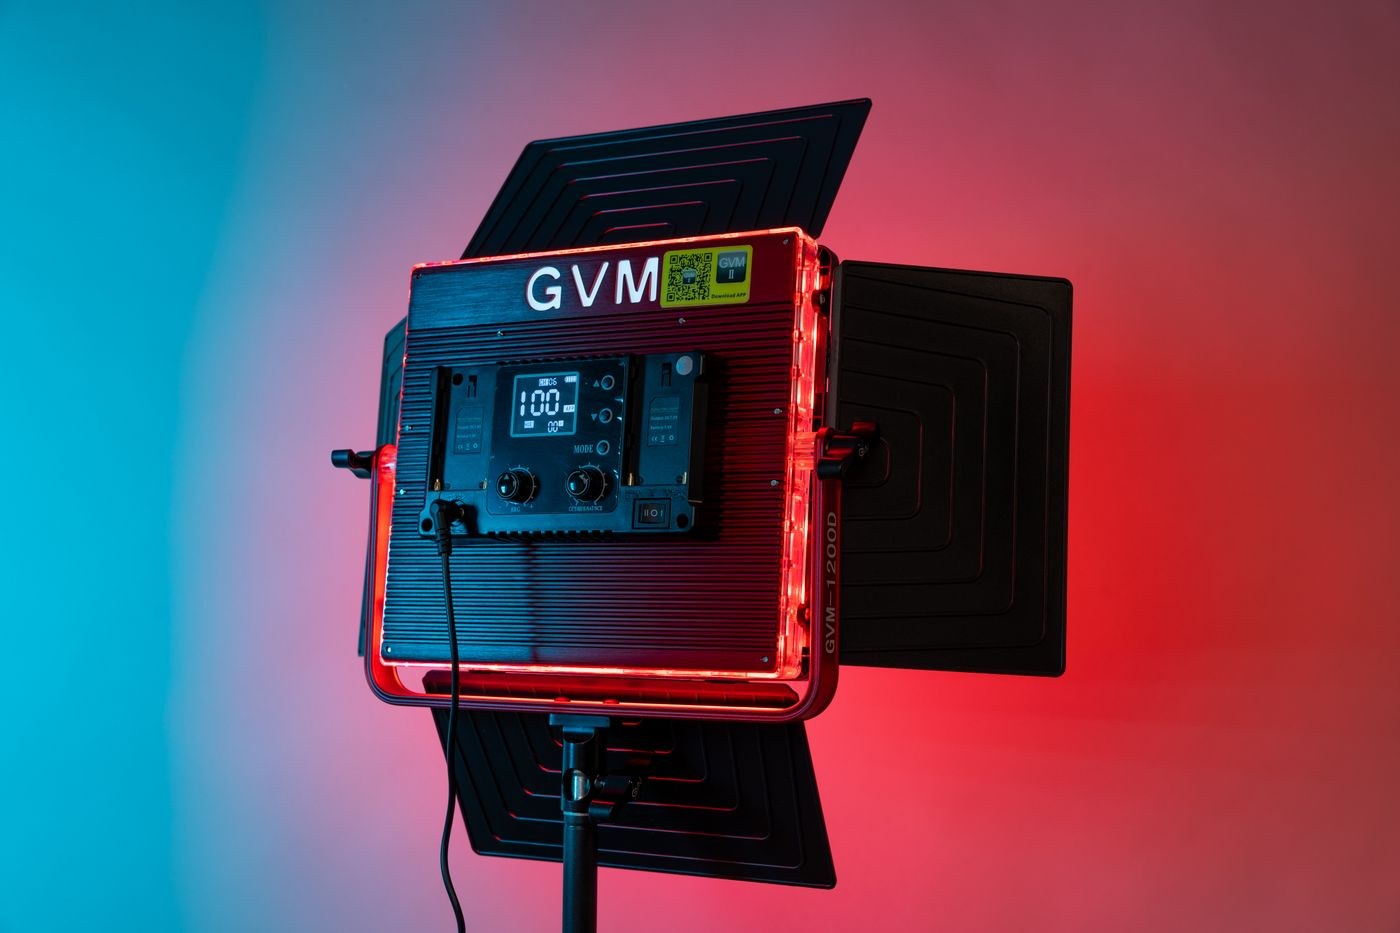
Put the subject on a stable table and turn off nearby lamps that add an unwanted colour. Start with the LED to one side and slightly above the object. A straight-on light often conceals relief, while side light makes small ridges and surface changes visible. Move the light through a short arc and watch the object itself before considering camera settings.
A small bare LED behaves like a relatively small light source when it is far from the subject. Shadows can be sharply edged, and polished objects can show a bright rectangular reflection. Moving it closer increases its apparent size, but it may also make illumination uneven across a large subject. A suitable diffuser can broaden the effective source; use only materials and attachments appropriate for the light's heat and ventilation requirements.
Balance the bright side and the shadow
Place a white card opposite the lamp if the unlit side disappears. Bring the card closer to strengthen the reflection, or move it away to retain more shape. This is often easier than adding a second lamp with a different colour or another visible reflection. A black card can do the opposite, reducing stray reflected light around a glossy object.
Set white balance from a neutral reference under the actual light if consistent colour matters. A colour-temperature setting does not describe every aspect of a lamp's spectrum, so two lamps with matching numbers may still render an object differently. Photograph a familiar coloured object as a check rather than assuming that the display value guarantees a match. Keep this test separate from creative warm or cool treatments.
Some lights show flicker or banding with particular shutter modes and exposure times. Make a test photograph at the settings you intend to use and inspect an evenly lit area. If bands appear, try the camera's applicable flicker controls, a different shutter mode or a different exposure time, checking the result each time. Do not rely solely on the live screen.
For a static object, camera support allows you to use a longer exposure instead of forcing the LED to maximum output. Keep hands away from the table while the shutter is open. Finish by checking the highlight on the brightest surface: it should describe the material without erasing the detail that made the object worth photographing. Save the lamp position and distance in a quick note if you need to repeat the setup.